
St Valentines Peak is a moderate to hard day hike that delivers amazing 360 degree views without the tourist crowds (and National Park fees) of nearby areas like Cradle Mountain. It also delivers some on fantastic native forest vibes you can only find in Tasmania.
Overview
This day hike to St Valentines Peak (1,107m) is an 8.9km return trek with approximately 632m of elevation gain south of Burnie. Despite its relatively “small” altitude, the mountain’s prominence makes it a standout landmark of the north-west coast of Tasmania, visible from the ocean as well as the drive in.
It’s a great alternative to the busier National Park trails, offering a mix of dense mossy forest and a sharp, jagged ridge without the crowds or park fees.
Access
Trailhead: St Valentines Peak Track Car Park (The final few kilometres to the car park is dirt road; it might be difficult for some 2WD in the wet).
Suggested Meeting Point: Woolworths Burnie
Travel time: By car: 50 mins from Burnie, 2 hours 15 mins from Launceston
St Valentines Peak Information
Hike time: 4.5 hours return (at a moderate walking pace).
Season: Autumn (May)
Fitness: Grade 2 – Moderate | Technical: Grade C – Hard
*See how I rate my walks
Safety Notes: There are a few sections of the trail before the true summit (and one just before the false summit) where there are exposed to dangerous drops that require care and a little rock scrambling. These would be more risky in high wind, rain and snow. There is one small chain on a section. The lower trails in the forest were cold and slippery.
Download and the St Valentines Peak GPX file
App or map? While many rely on navigation apps I always recommend printing a copy of your hike maps using OpenTopo or similar and keeping it in a waterproof case. You should also consider an PLB or other emergency device in Australia.
Post Hike Report
We set off at 8.30am from Burnie with sunny weather and no wind forecast. We reached the trailhead around 9.20am and started moving after a quick gear check.
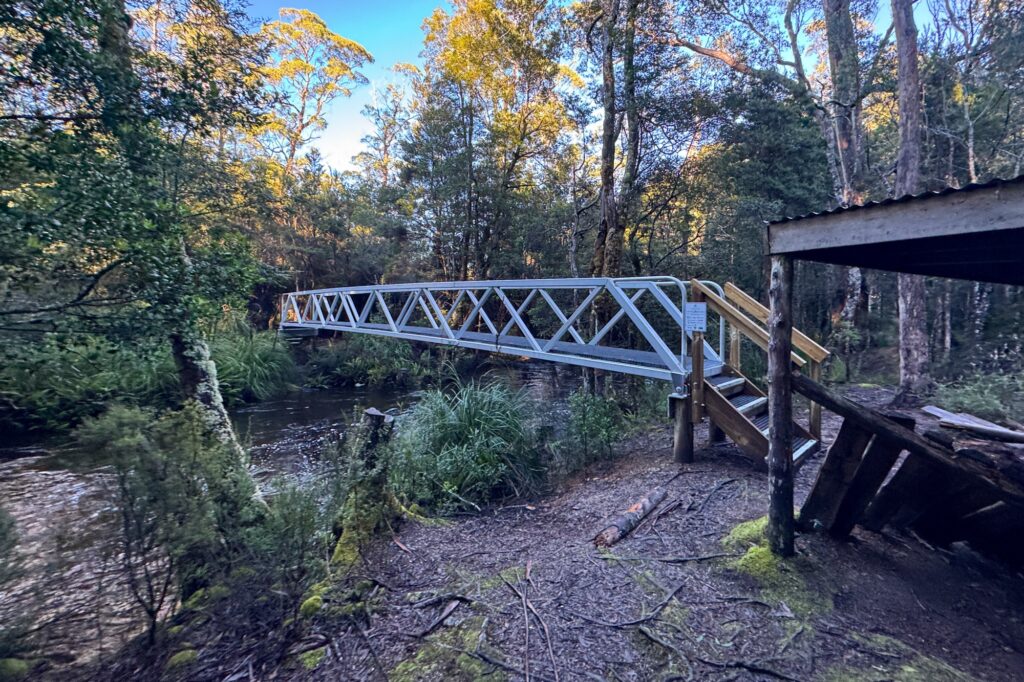
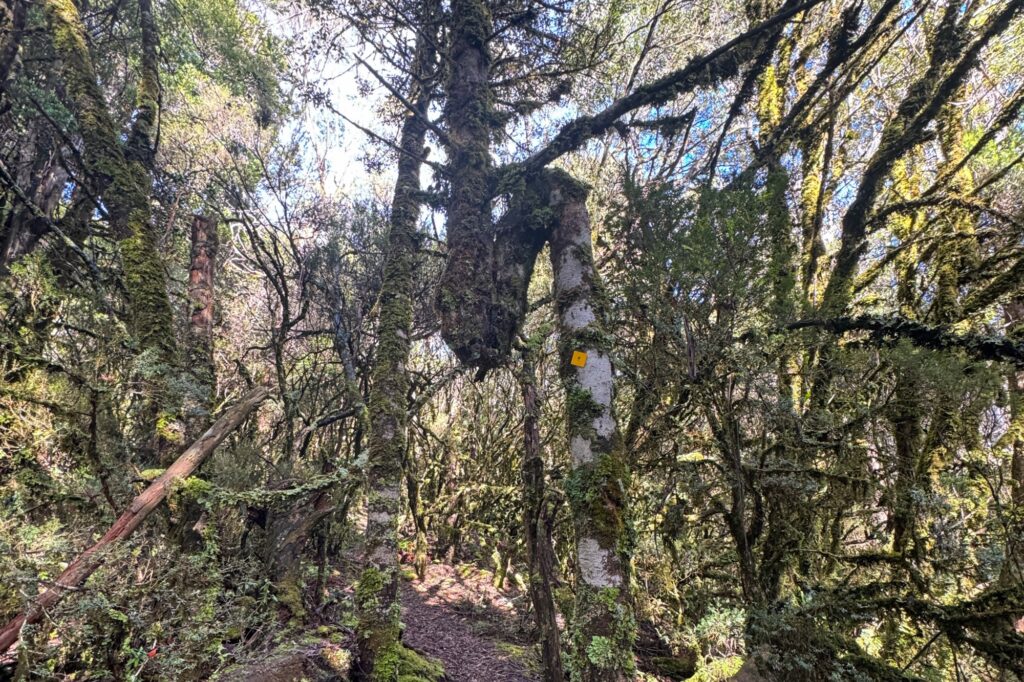
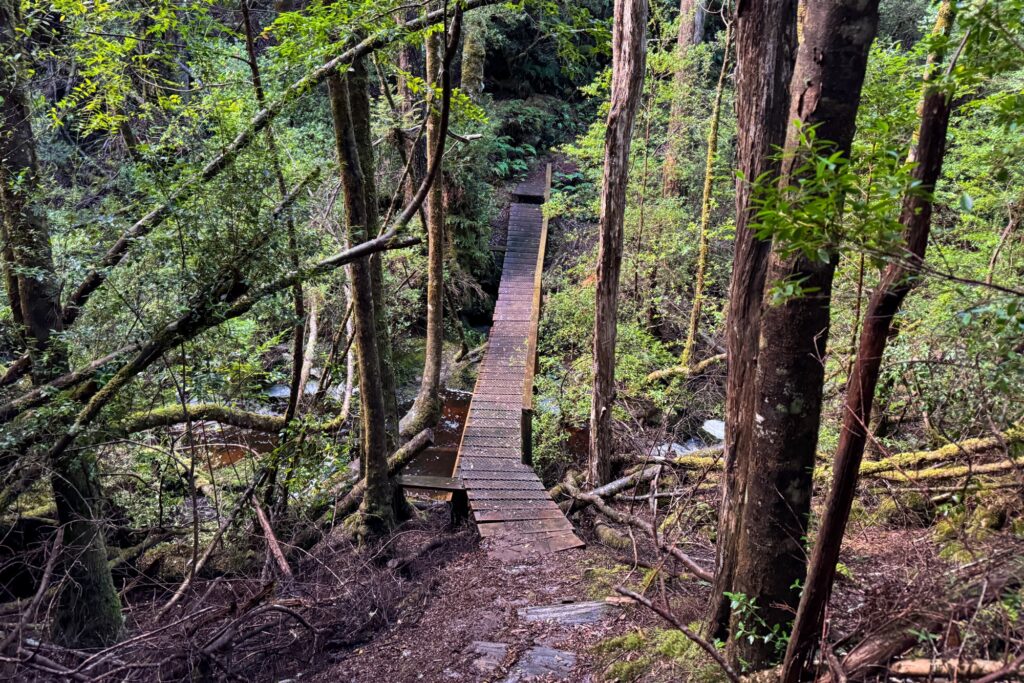
The trail drops immediately to a river crossing with a fantastic new bridge. There is an old logbook and information station there for some historical context. Pictures show that people used to cross the river with a support rope, which would have been freezing this time of year. Once across the river, the trail heads straight up through beautiful native Tassie forest. The maze of slippery tree roots and undergrowth reminded me a lot of the lower sections of the Higashi-Akaishi hike in Japan. The beautiful, twisted trees offer a sharp contrast to the heavily logged land we passed on the drive in.
After about 1.5km of up and down with a mix of steps, single trail and boardwalk, we hit an old 4WD trail. We followed that for about 700m until the signs point left, back onto single track. The forest starts to steepen here and becomes mossy again. There were lots of spider webs here and as the first up the trail I was the one clearing them with my face.
We took regular breaks through this section to rest, admire the mushrooms and take a break on the steep sections. I’ve always found inclines below the treeline much more “tiring” than inclines once you get above the trees where you can see the mountain ahead.
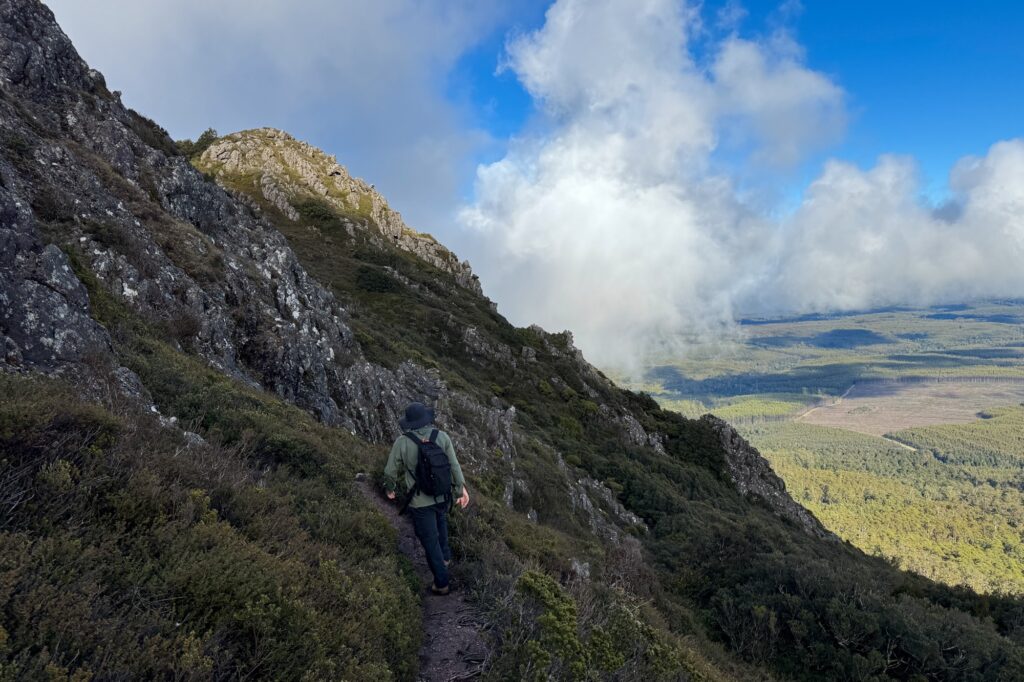
As you approach the actual peak the the trail starts to steepen, the trees become shorter and the cool mossy forest gives way to drier, warmer more exposed terrain. As we hit the first rock scramble of the hike the view behind opens up. I felt a sudden sense of exposure as I looked up the mountain, with a drop on the left, and not knowing how much scrambling there would be ahead. Thankfully I quickly settled in as I adjusted to being out of the forest and realised the scrambling wasn’t too difficult in the dry.
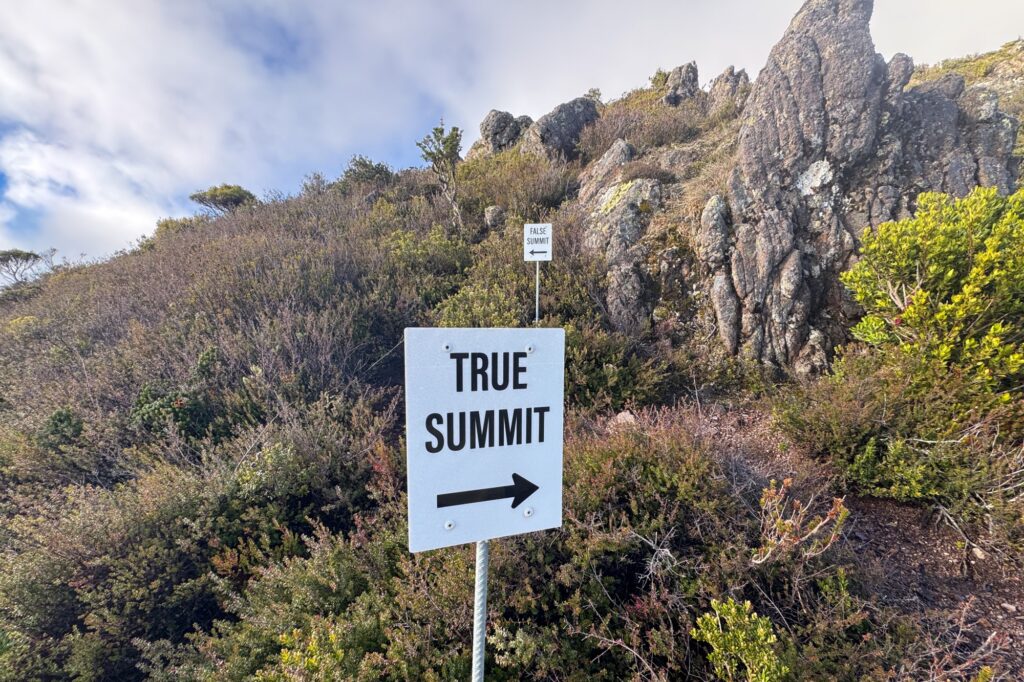
As we continued to the summit the views kept improving. After 10 minutes of short scrambling and flat trails we hit the signs for the “false” summit and “peak “true” summit. We followed the trail to the true summit that wraps around to the right. This would be a place to turn around if you’re running out of time – but I suggest at least continuing around to the next view point if you can.
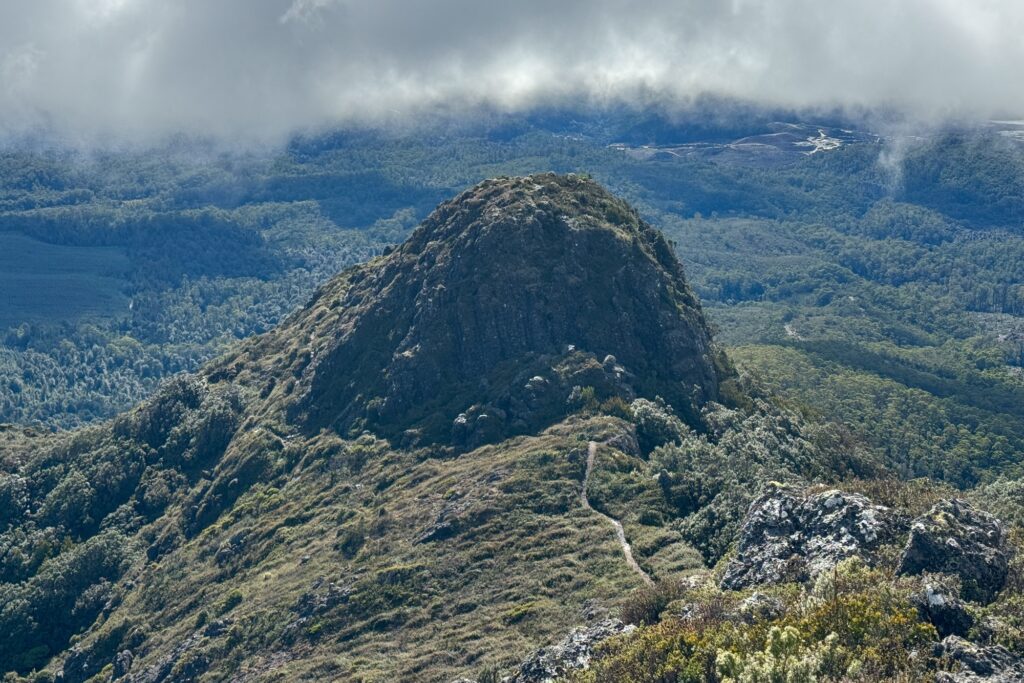
We continued around towards the “true summit” until we reached what I will call the “middle peak” which sits just above 1,000m. We stopped here for lunch. Leaving our day packs behind to save some weight for the final push. This in my opinion would be a much better spot to stop than the “false” summit if you don’t have another 45 minutes or so to reach the true peak. The forests below will start getting dark around 3.00pm in the cooler months.
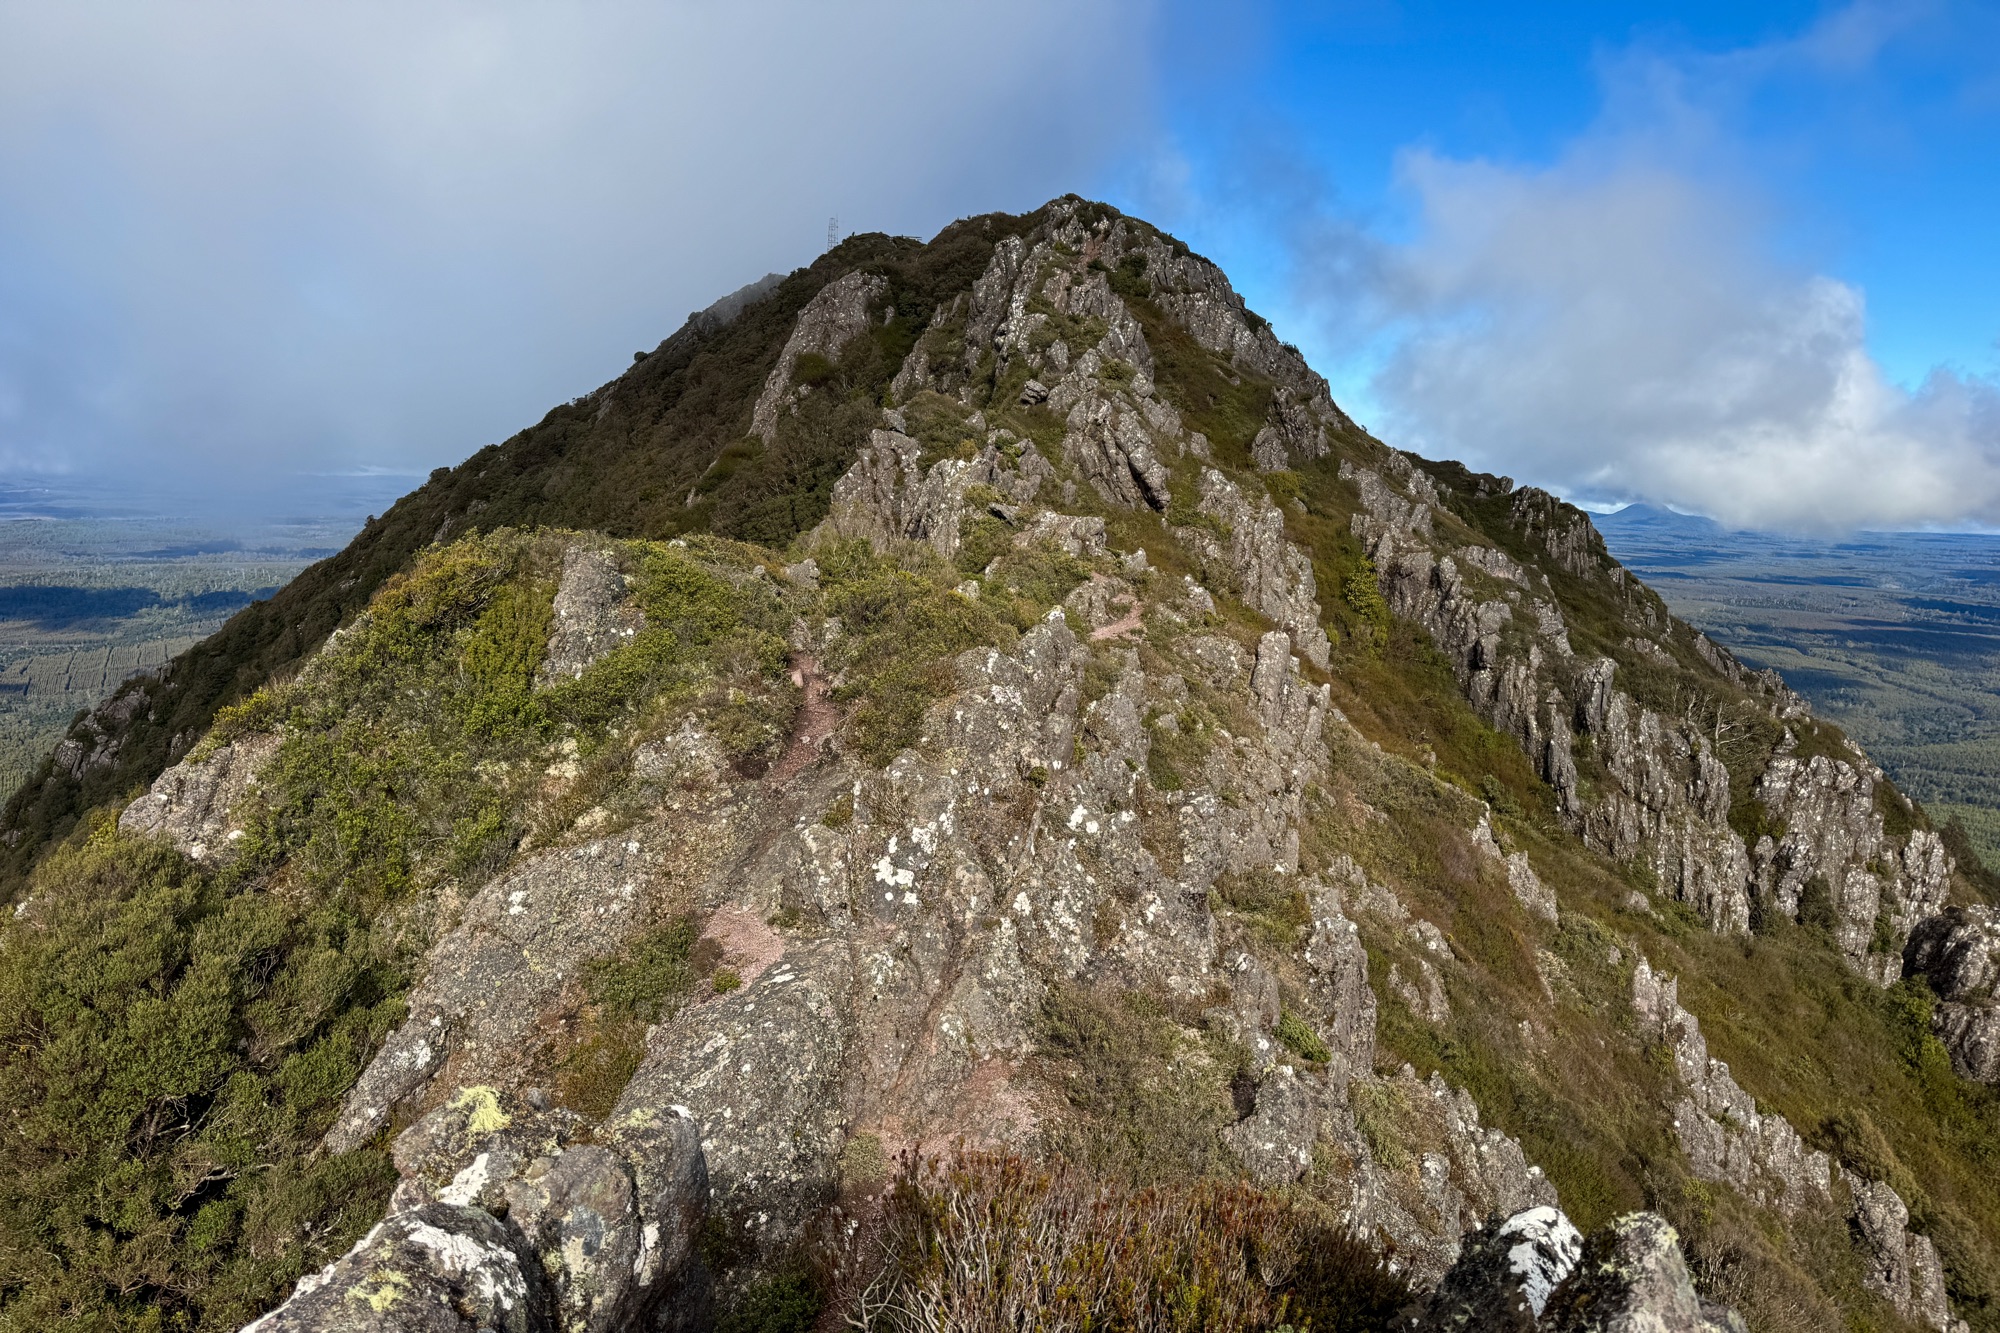
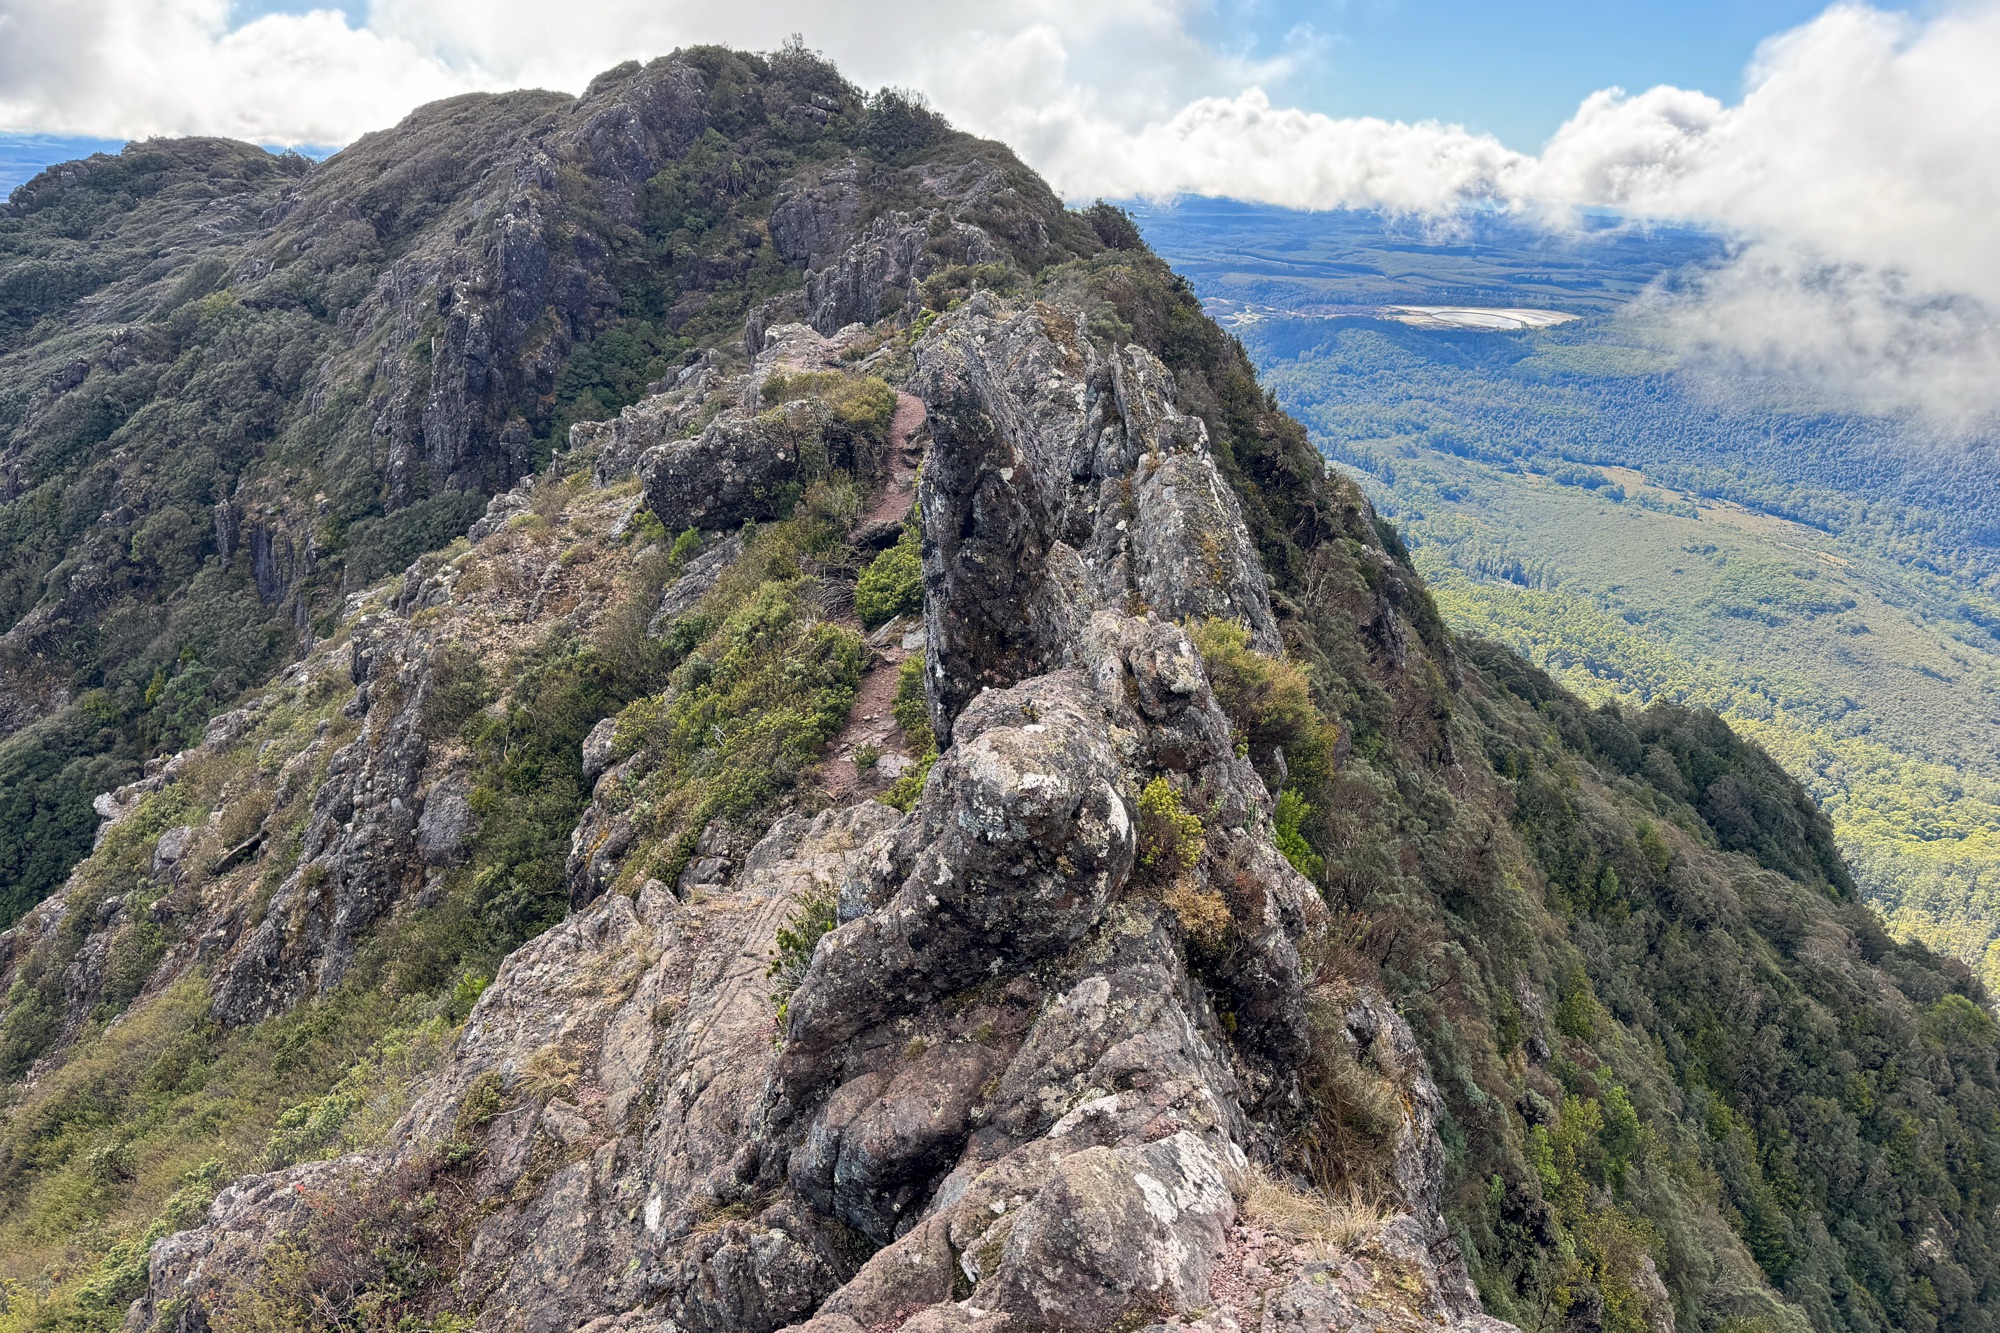
The ridge walk to the actual summit takes a lot longer than it looks from the lunch spot. It’s hard to gauge to size of the rocks in view but to give you an idea the tower at the top of the mountain is at least 8 metres tall (not 2 metres as I guessed from here). There is a photo at the bottom of this report showing this view.
We dropped down into a saddle and passed another peak before reaching a small section of horizontal chain (to help with balance, not for climbing). There is a drop on the right here. From here there is a roughly 30m stretch where the trail passes a cliff that is quite tall. Falling on this section would likely be fatal so take it easy. I am not a fan of heights but managed in the dry. I probably would not recommend this for the average hiker in wet, windy or snowy conditions.
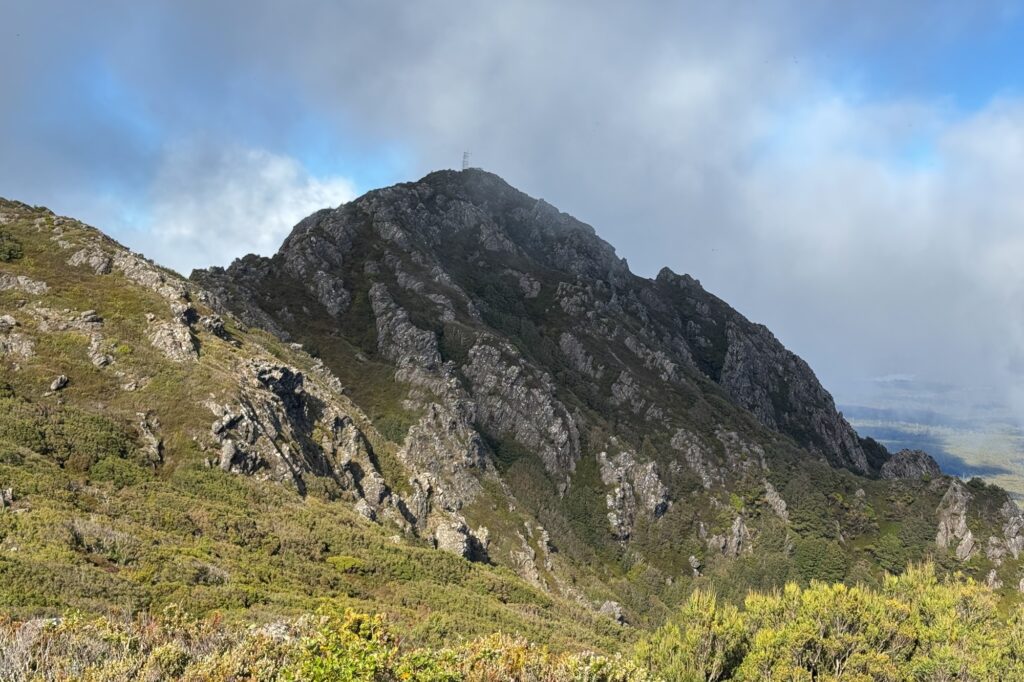
It took us about 40 minutes to navigate from our lunch spot to the summit. Once at the top, we found an old radio station and a half-built platform that looks abandoned. The views out toward Cradle Mountain as well as the crescent shaped Mt Pearse and Rocky Sugarloaf to the southwest were excellent.

The journey back took about 1.5 hours in total. I’d like to stress the importance of not rushing the descent. The cliff sections are risky, and we also had a few slips on loose rocks and wet roots as we went down the peak and through the forest. An ankle injury near the top would slow you down a lot and make for a long day or night.
While this hike took us just under 5 hours I’d always suggest to people to start early and make sure you have at least 7 hours of daylight in case something happens. We also carried a PLB just in case – as there have been many cases of people getting into big trouble on “easy” trails in Tasmania.
Other photos of Saint Valentines Peak
Useful Resources
- Bushwalking Australia forum on St Valentines peak (before bridge built)
- Facebook post regarding the hike